
Proyectointroducciónmodelo

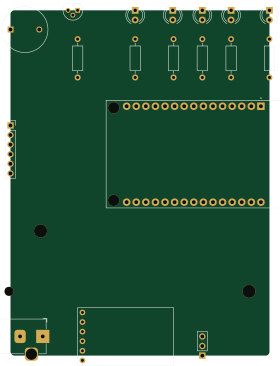
About the Proyectointroducciónmodelo PCB
Proyectointroducciónmodelo is an open source ESP32 PCB design by Lamorenobo, published on GitHub. It is a 2-layer board measuring 68.6 × 91.4 mm, with 19 components from 11 distinct parts.
Its main chip is the ESP32-DEVKIT-V1, from the ESP32 family. Other key parts include the mh-cd42. By type, the board carries 6 resistors, 5 diodes, 3 connectors, 2 ICs, 1 transistor and 1 battery holder.
It belongs with the iot & wireless designs in this gallery.
From the project
En esas fotos se puede apreciar nuestra felicidad al percaarnos que el ESP-32 estaba haciendo su trabajo a la perfeccion, encendiendo y apagando Leds, dependiendo a la radiacion UV que fuera expuesto el SENSOR, ya solo faltaba empezar a crear la aplicacion ## Capitulo:PCB Sin emb
En esas fotos se puede apreciar nuestra felicidad al percaarnos que el ESP-32 estaba haciendo su trabajo a la perfeccion, encendiendo y apagando Leds, dependiendo a la radiacion UV que fuera expuesto el SENSOR, ya solo faltaba empezar a crear la aplicacion ## Capitulo:PCB Sin embargo debido a errores grupales no contabamos con que el proyecto debia realizarse sobre una PCB, por lo cual empezamos a documentarnos sobre el uso de la herramienta KICAD y las librerias necesarias para armar el Esquema de la PCB para posteriormente mandarla a fabricar ### Primera Version de la PCB:(Error)

Main components on the Proyectointroducciónmodelo
Proyectointroducciónmodelo bill of materials (BOM)
19 components, 11 distinct parts.
| Qty | Part | Footprint | Refs |
|---|---|---|---|
| 1 | mh-cd42 | mh-cd42 | U2 |
| 1 | ESP32-DEVKIT-V1 | MODULE_ESP32_DEVKIT_V1 | U3 |
| 1 | 2N2222A | TO-92 | Q1 |
| 1 | Jack-DC | BarrelJack_Horizontal | J1 |
| 1 | Conn_01x06_Pin | PinSocket_1x06_P2.54mm_Vertical | J2 |
| 1 | sensor-UV Guva S12sd | PinHeader_1x03_P2.54mm_Vertical | J3 |
| 1 | Battery | BatteryHolder_Keystone_1042_1x18650 | BT1 |
| 1 | Speaker | MagneticBuzzer_ProSignal_ABI-009-RC | LS1 |
| 5 | LED | LED_D4.0mm | D1, D2, D3, D4, D5 |
| 1 | 1k | R_Axial_DIN0207_L6.3mm_D2.5mm_P10.16mm_Horizontal | R2 |
| 5 | 220 | R_Axial_DIN0207_L6.3mm_D2.5mm_P10.16mm_Horizontal | R3, R4, R5, R6, R7 |
Proyectointroducciónmodelo design files
The KiCad project lives in the Lamorenobo/dispositivo-de-deteccion-uv repository on GitHub; these links point at the commit this page was built from.
Proyectointroducciónmodelo: common questions
What microcontroller does the Proyectointroducciónmodelo use?
The Proyectointroducciónmodelo is built around the ESP32-DEVKIT-V1, from the ESP32 family.
How big is the Proyectointroducciónmodelo PCB?
The Proyectointroducciónmodelo measures 68.6 × 91.4 mm, has 2 copper layers and is 1.6 mm thick.
How many components are on the Proyectointroducciónmodelo?
19 components, from 11 distinct parts. The full bill of materials is listed on this page.
Where can I download the Proyectointroducciónmodelo design files?
From the Lamorenobo/dispositivo-de-deteccion-uv repository on GitHub, which has the KiCad layout; the links under Design files point to each one.
Can I use the Proyectointroducciónmodelo design in my own project?
The repository has no license, so all rights stay with Lamorenobo. Use it as a reference, and ask the author before reusing the design.
Can I test firmware for the Proyectointroducciónmodelo without the hardware?
Yes. HardLabs builds a simulation of the board from its netlist and BOM, so you can run and debug ESP32 firmware against it before you order a PCB.
More boards in dispositivo-de-deteccion-uv
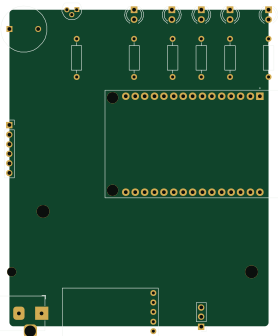
Similar boards
 ESP32
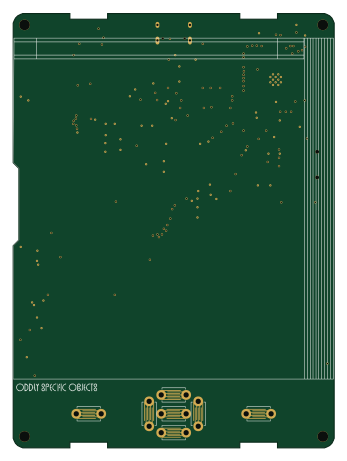
OSO-BOOK-B1
joeycastillo
85 × 115 mm65 parts2LCC-BY-SA-4.08.1k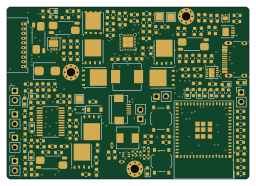 ESP32
Powertrain
byrantech
64 × 45.4 mm171 parts4LMIT4.3k ESP32
Esp32 minimal
atopile
36.2 × 26.8 mm20 parts2LMIT4.0k ESP32
Badge
56.3 × 39 mm239 parts4LMIT4.0k ESP32
Racer
StuckAtPrototype
36 × 50.2 mm70 parts4LApache-2.03.8k ESP32
Controller
29 × 74 mm58 parts4LApache-2.03.8k