
9 open source boards using the OPA192IDBVR
Real designs built with the OPA192IDBVR, from public GitHub projects: a quick way to see how others power, decouple and connect it. Each board comes with its KiCad files, full parts list and a render — and you can simulate its firmware on HardLabs.
 PIC
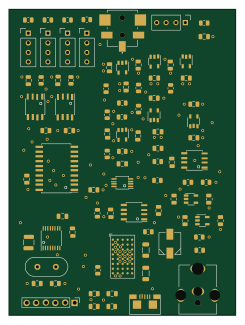
Mystat
matthew-yates
60 × 81 mm91 parts4LGPL-3.09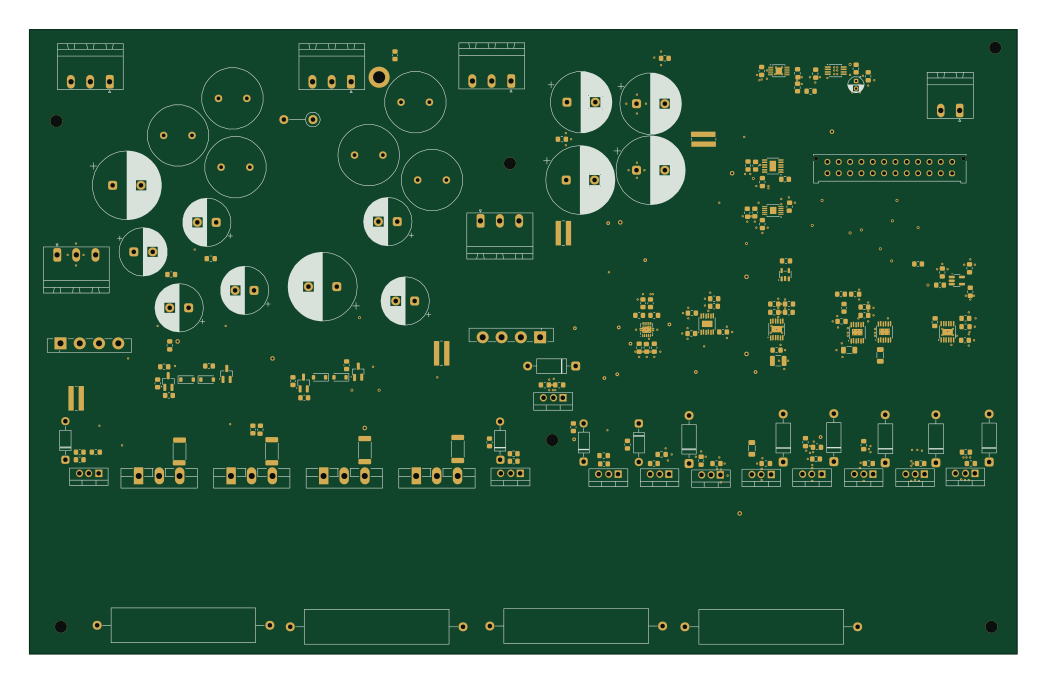
Laser driver v3 Power
scular-HCC
261.3 × 165.2 mm273 parts2LCustom license0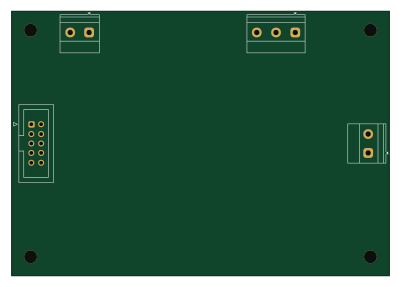
STIM-Rev1-Hardware
WeymenKoo
100 × 70 mm115 parts4LNo license0- schematic only · 1352 partsSTM32
Mira
max-talanov
1352 parts2LMIT0 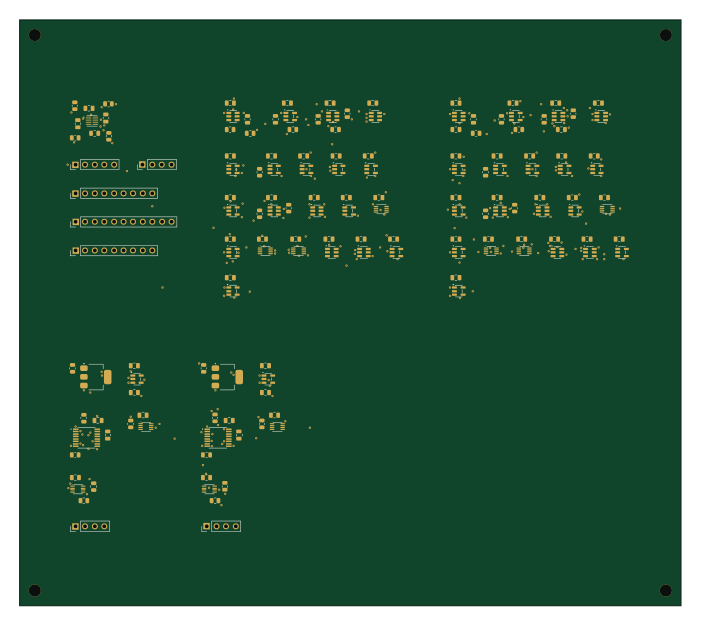
Project ATO / Current Driver
pratham-cloud-ctrl
175 × 155 mm156 parts4LCustom license0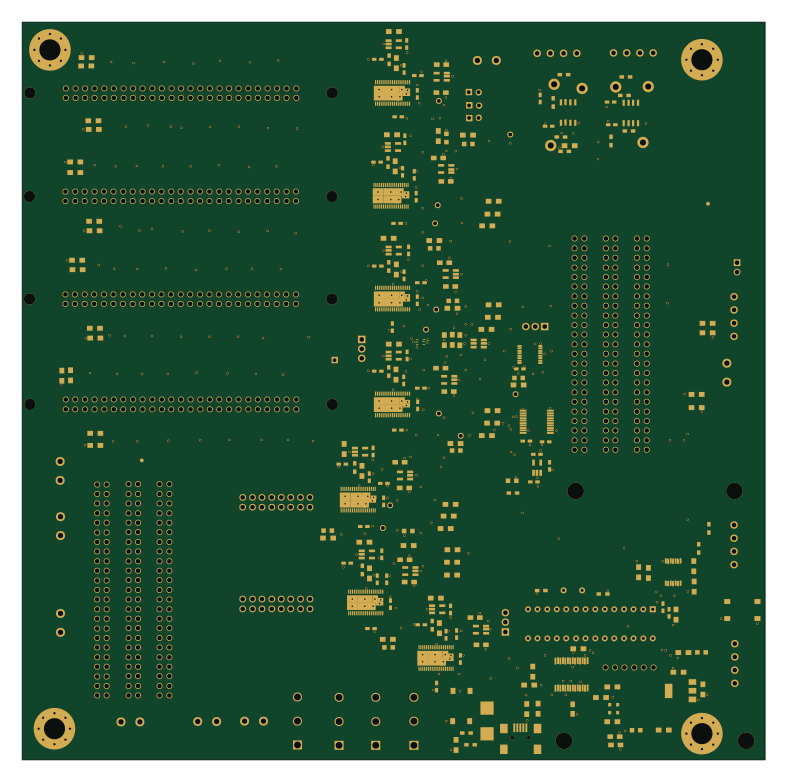 AVR/Arduino
Motherboard
ParadigmHyperloop
196.4 × 195.1 mm262 parts2LCustom license11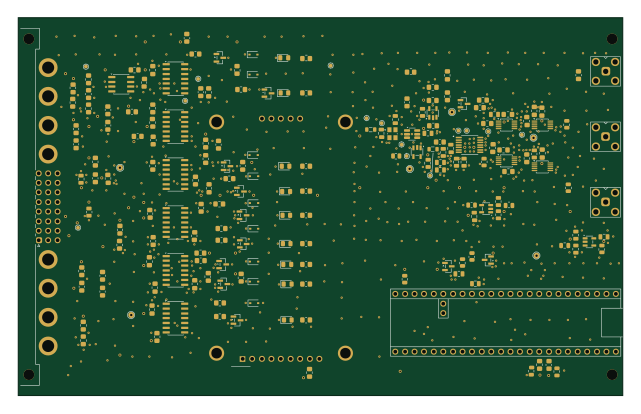 NXP
DIG Card
160 × 100 mm187 parts6LCustom license0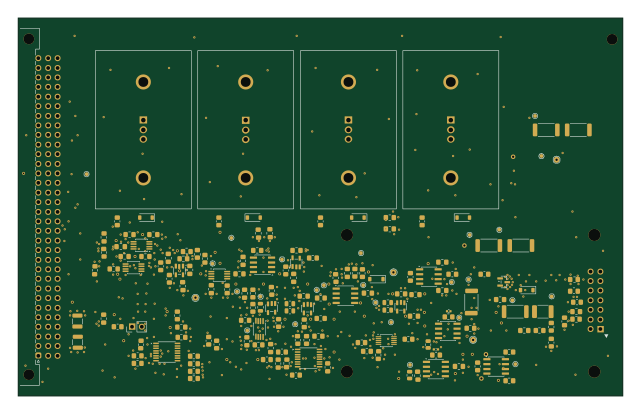
CH Card
160 × 100 mm159 parts6LCustom license0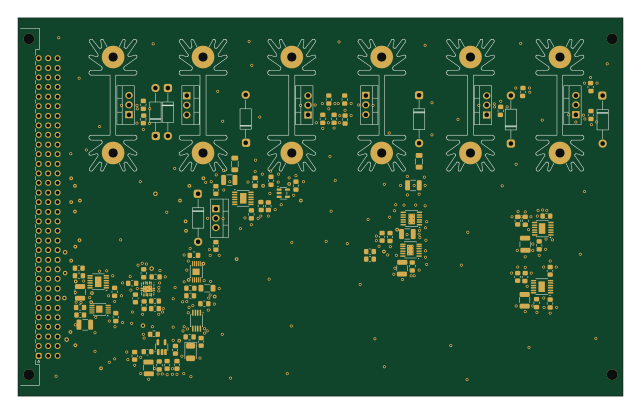
Pm1p8V pm5V 5Vref 5Vlaser
160 × 100 mm106 parts2LCustom license0
How designs wire the OPA192IDBVR
Read from the KiCad layouts of 5 open source designs, one per repository: what each pin of the OPA192IDBVR connects to, and the resistors, capacitors and other passives placed on it.
- The IN-_4 pin has a series resistor on 3 of 5 designs, most often 0 Ω (then 10 kΩ).
- The V+_5 pin has a decoupling capacitor on 3 of 5 designs, most often 100 nF (then 1 µF).
- The OUT_1 pin has a series resistor on 2 of 5 designs, most often 0 Ω (then 100 Ω).
- The V-_2 pin has a decoupling capacitor on 2 of 5 designs, most often 100 nF.
| Pin | Connected to | Parts on the pin |
|---|---|---|
| OUT_1pin 1 | Connected to: Signal 100% |
|
| V-_2pin 2 | Connected to: -13.4V 40% · GND 20% · a signal 40% |
|
| IN+_3pin 3 | Connected to: Signal 100% |
|
| IN-_4pin 4 | Connected to: Signal 100% |
|
| V+_5pin 5 | Connected to: 5V 60% · a signal 40% |
|
Connections count pins, parts count designs; values in brackets are how many parts had that value. Designs read include Motherboard by ParadigmHyperloop, Mystat by matthew-yates, Project ATO / Current Driver by pratham-cloud-ctrl and CH Card by scular-HCC.
The OPA192IDBVR in open source designs
The gallery holds 9 open source boards using the OPA192IDBVR from 6 GitHub repositories; a typical one measures about 160 × 100 mm and carries around 159 components.
56% use four copper layers or more, and 22% carry an open source license.
The most starred is Motherboard by ParadigmHyperloop.
Parts used alongside the OPA192IDBVR
Microcontrollers on boards using the OPA192IDBVR
What boards using the OPA192IDBVR are built for
OPA192IDBVR: common questions
Where can I find a OPA192IDBVR reference design?
Each of the 9 boards on this page is a real design using the OPA192IDBVR. Open one to see how it is wired up, with the full BOM, a render of the layout and links to its KiCad files.
What resistor goes on the OPA192IDBVR IN-_4 pin?
The IN-_4 pin has a series resistor on 3 of 5 designs, most often 0 Ω (then 10 kΩ). Counted from the KiCad layouts of 5 open source designs using the OPA192IDBVR.
What decoupling capacitors do designs use on the OPA192IDBVR V+_5 pin?
The V+_5 pin has a decoupling capacitor on 3 of 5 designs, most often 100 nF (then 1 µF). Counted from the KiCad layouts of 5 open source designs using the OPA192IDBVR.
What resistor goes on the OPA192IDBVR OUT_1 pin?
The OUT_1 pin has a series resistor on 2 of 5 designs, most often 0 Ω (then 100 Ω). Counted from the KiCad layouts of 5 open source designs using the OPA192IDBVR.
What parts are used alongside the OPA192IDBVR?
The OPA4192IPWR, SN74LVC1G04DBVR, SN74LVC1G08DBVR, SN74LVC1G11DBVR and SN74LVC1G32DBVR appear in the most repositories here.
Which microcontrollers do boards using the OPA192IDBVR use?
Most are built on AVR/Arduino (1), NXP (1), PIC (1) and STM32 (1).
How big is a typical board using the OPA192IDBVR?
The median is 160 × 100 mm, and 44% are two-layer designs.
What is the most popular open source board using the OPA192IDBVR?
By GitHub stars, Motherboard by ParadigmHyperloop, with 11 stars.
Can I simulate one of these boards using the OPA192IDBVR before building it?
Yes. HardLabs turns a board's netlist and BOM into a working simulation, so you can boot and test firmware against it with no hardware on your desk.