
9 open source boards using the TPD4E1U06DBVR
Real designs built with the TPD4E1U06DBVR, from public GitHub projects: a quick way to see how others power, decouple and connect it. Each board comes with its KiCad files, full parts list and a render — and you can simulate its firmware on HardLabs.
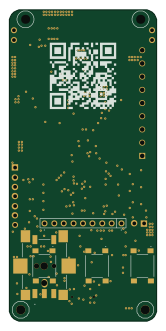 STM32
AxxSolder
AxxAxx
39 × 82.5 mm122 parts2LGPL-3.01.7k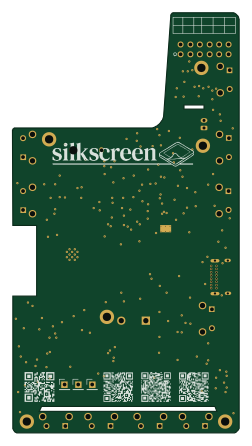 ESP32
Silkscreen
iandchasse
60 × 111.3 mm171 parts2LCERN-OHL-S-2.0585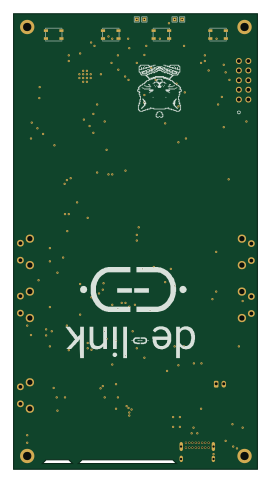 ESP32
MinRead
Monacrylic
64.5 × 120.5 mm114 parts2LNo license2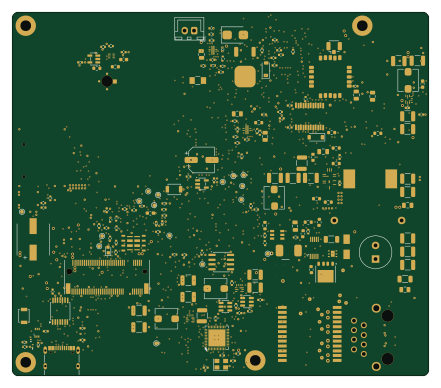 ESP32
Assembly preview
ripclap
110 × 96 mm423 parts6LCERN-OHL-P-2.00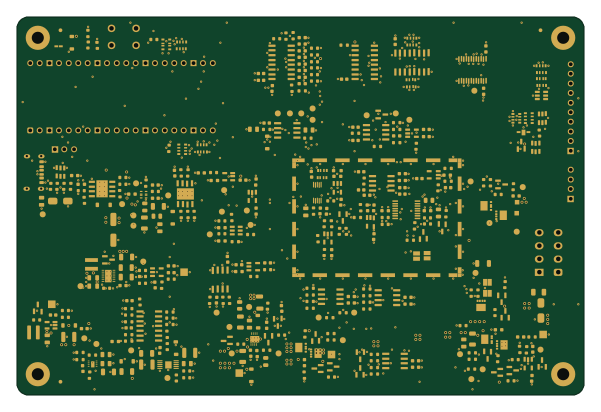 RP2040/RP2350
Open power profiler
Guiimartinho
150 × 100 mm365 parts4LMIT0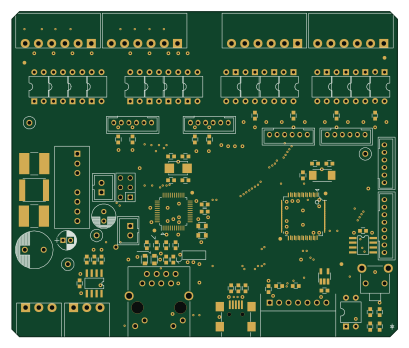 STM32
2102 DIO 0808
hamayanShowa-ele
102 × 86 mm227 parts4LNo license0- schematic only · 122 partsSTM32
Kicad skidl assignment
rajsrivastava9801-blip
122 partsNo license0 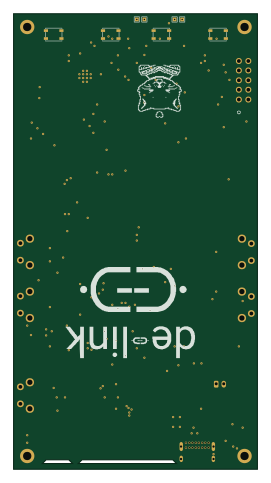 ESP32
X de link
64.5 × 120.5 mm114 parts2LNo license2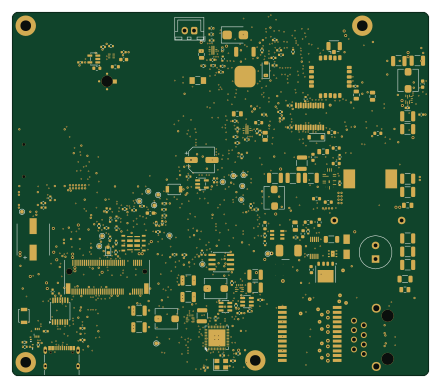 ESP32
Carrier
110 × 96 mm423 parts6LCERN-OHL-P-2.00
How designs wire the TPD4E1U06DBVR
Read from the KiCad layouts of 6 open source designs, one per repository: what each pin of the TPD4E1U06DBVR connects to, and the resistors, capacitors and other passives placed on it.
- The IO1_1 pin has a series resistor on 5 of 6 designs, most often 33 Ω (then 10 kΩ).
- The IO2 pin has a series resistor on 5 of 6 designs, most often 33 Ω (then 10 kΩ).
- The IO3 pin has a series resistor on 3 of 6 designs, most often 33 Ω (then 22 Ω).
| Pin | Connected to | Parts on the pin |
|---|---|---|
| IO1_1pin 1 | Connected to: A connector 100% |
|
| GNDpin 2 | Connected to: GND 100% | — |
| IO2pin 3 | Connected to: A connector 100% |
|
| IO3pin 4 | Connected to: A connector 83% · GND 17% |
|
| NCpin 5 | Connected to: Not connected 83% · 3.3V 17% | — |
| IO4pin 6 | Connected to: A connector 83% · GND 17% |
|
Connections count pins, parts count designs; values in brackets are how many parts had that value. Designs read include AxxSolder by AxxAxx, Silkscreen pcb by iandchasse, MinRead pcb by Monacrylic and Open power profiler by Guiimartinho.
The TPD4E1U06DBVR in open source designs
The gallery holds 9 open source boards using the TPD4E1U06DBVR from 7 GitHub repositories; a typical one measures about 83.3 × 98 mm and carries around 171 components.
50% are two-layer designs, the rest use four layers or more, and 56% carry an open source license.
The most starred is AxxSolder by AxxAxx.
Parts used alongside the TPD4E1U06DBVR
Microcontrollers on boards using the TPD4E1U06DBVR
What boards using the TPD4E1U06DBVR are built for
TPD4E1U06DBVR: common questions
Where can I find a TPD4E1U06DBVR reference design?
Each of the 9 boards on this page is a real design using the TPD4E1U06DBVR. Open one to see how it is wired up, with the full BOM, a render of the layout and links to its KiCad files.
What resistor goes on the TPD4E1U06DBVR IO1_1 pin?
The IO1_1 pin has a series resistor on 5 of 6 designs, most often 33 Ω (then 10 kΩ). Counted from the KiCad layouts of 6 open source designs using the TPD4E1U06DBVR.
What resistor goes on the TPD4E1U06DBVR IO2 pin?
The IO2 pin has a series resistor on 5 of 6 designs, most often 33 Ω (then 10 kΩ). Counted from the KiCad layouts of 6 open source designs using the TPD4E1U06DBVR.
What resistor goes on the TPD4E1U06DBVR IO3 pin?
The IO3 pin has a series resistor on 3 of 6 designs, most often 33 Ω (then 22 Ω). Counted from the KiCad layouts of 6 open source designs using the TPD4E1U06DBVR.
What parts are used alongside the TPD4E1U06DBVR?
The BSC014N04LSATMA1, DW01A, INA281A5QDBVRQ1, LMR54406DBVR and LTC4440AHMS8E-5#PBF appear in the most repositories here.
Which microcontrollers do boards using the TPD4E1U06DBVR use?
Most are built on ESP32 (5), STM32 (3) and RP2040/RP2350 (1).
How big is a typical board using the TPD4E1U06DBVR?
The median is 83.3 × 98 mm, and 50% are two-layer designs.
What is the most popular open source board using the TPD4E1U06DBVR?
By GitHub stars, AxxSolder by AxxAxx, with 1,714 stars.
Can I simulate one of these boards using the TPD4E1U06DBVR before building it?
Yes. HardLabs turns a board's netlist and BOM into a working simulation, so you can boot and test firmware against it with no hardware on your desk.