
23 open source boards using the uA7805
Real designs built with the uA7805, from public GitHub projects: a quick way to see how others power, decouple and connect it. Each board comes with its KiCad files, full parts list and a render — and you can simulate its firmware on HardLabs.
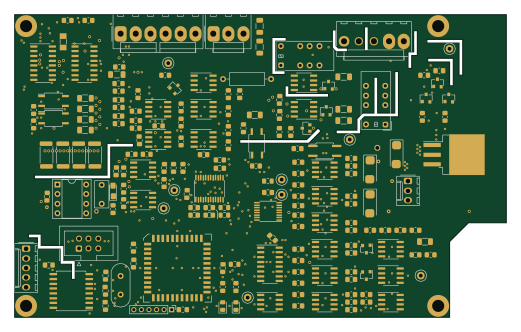 AVR/Arduino
Smu main 1
jaromir-sukuba
130 × 80 mm206 parts2LNo license188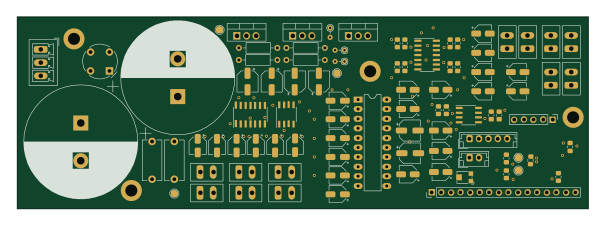 PIC
6ch af preamplifier
dilshan
151.3 × 50.8 mm115 parts2LMIT12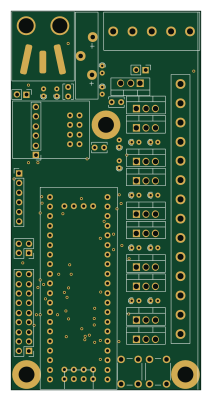 ESP8266
DMX CTRL
michar71
50 × 100 mm43 parts2LNo license12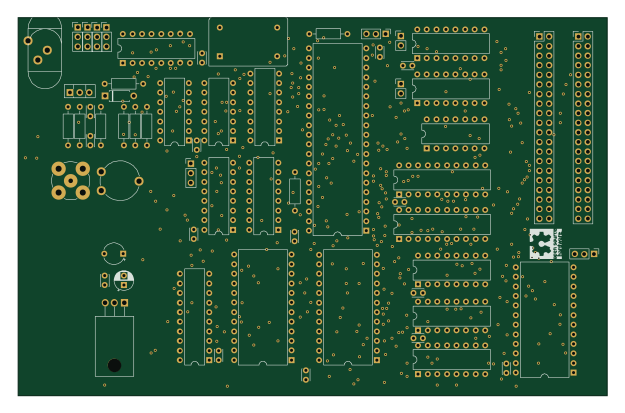
VIO MPF I
electrickery
156 × 100.1 mm63 parts2LNo license4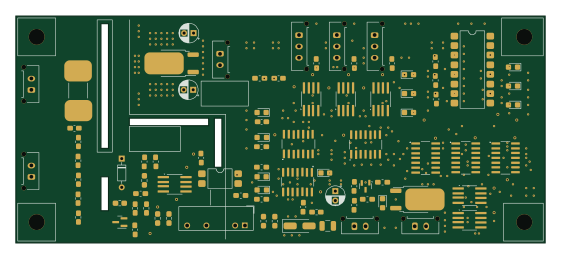 ESP32
TSAL G V4 2
HKUST-Red-Bird-Racing-EVRT
140 × 60 mm117 parts2LNo license3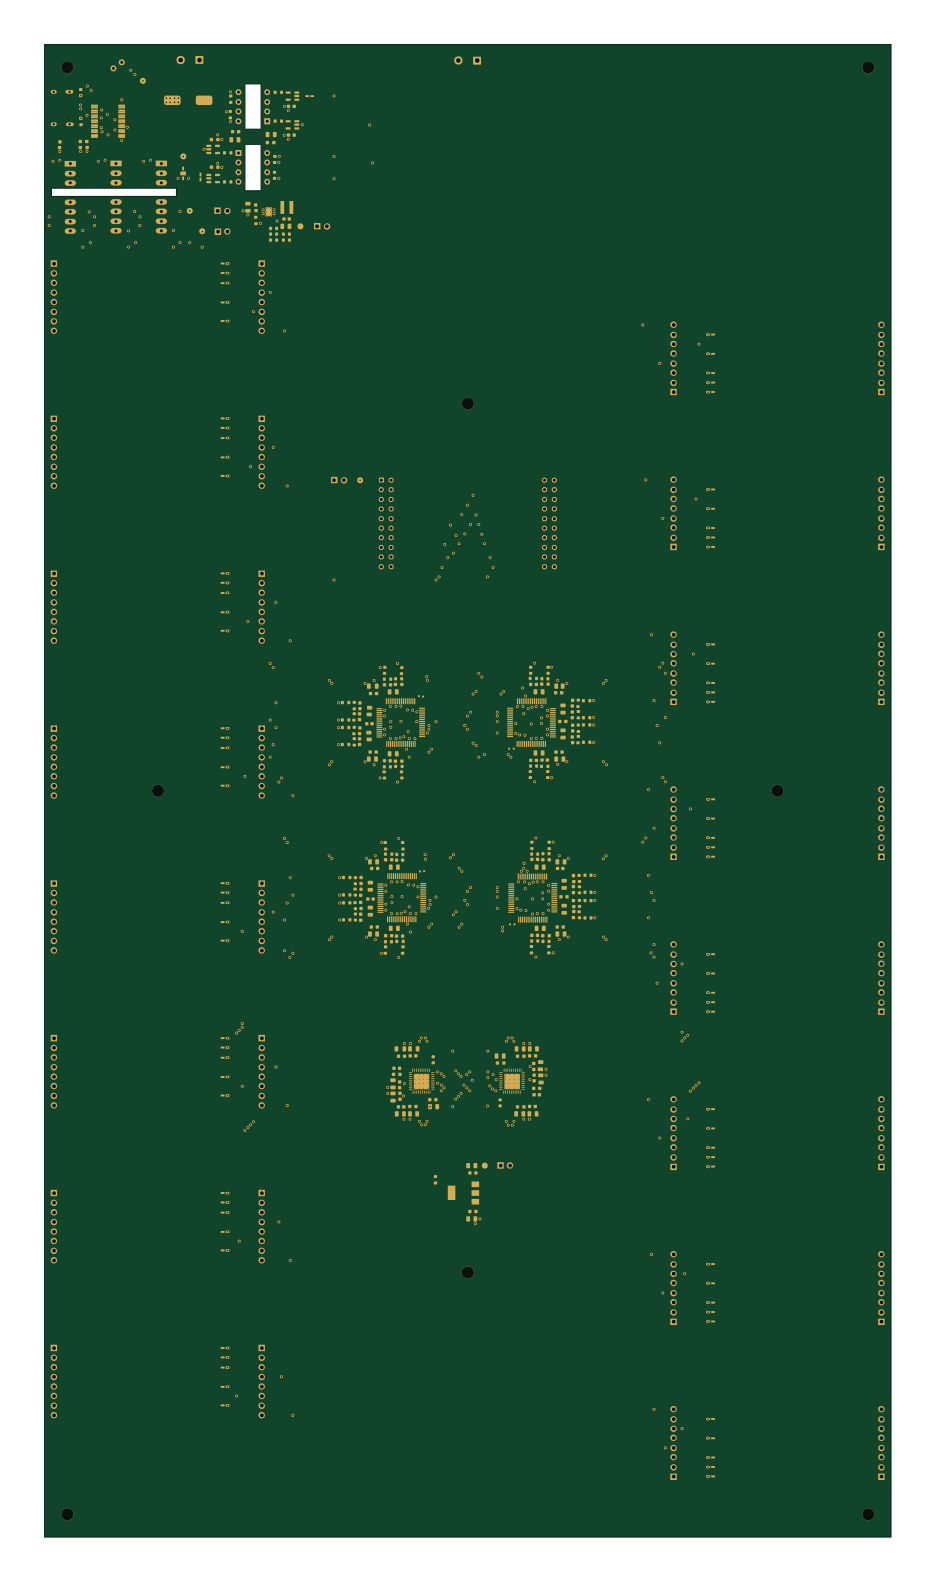
FE-FEAR16v2-PCB-Mainboard
Dephrilibrium
224 × 395 mm408 parts4LGPL-3.00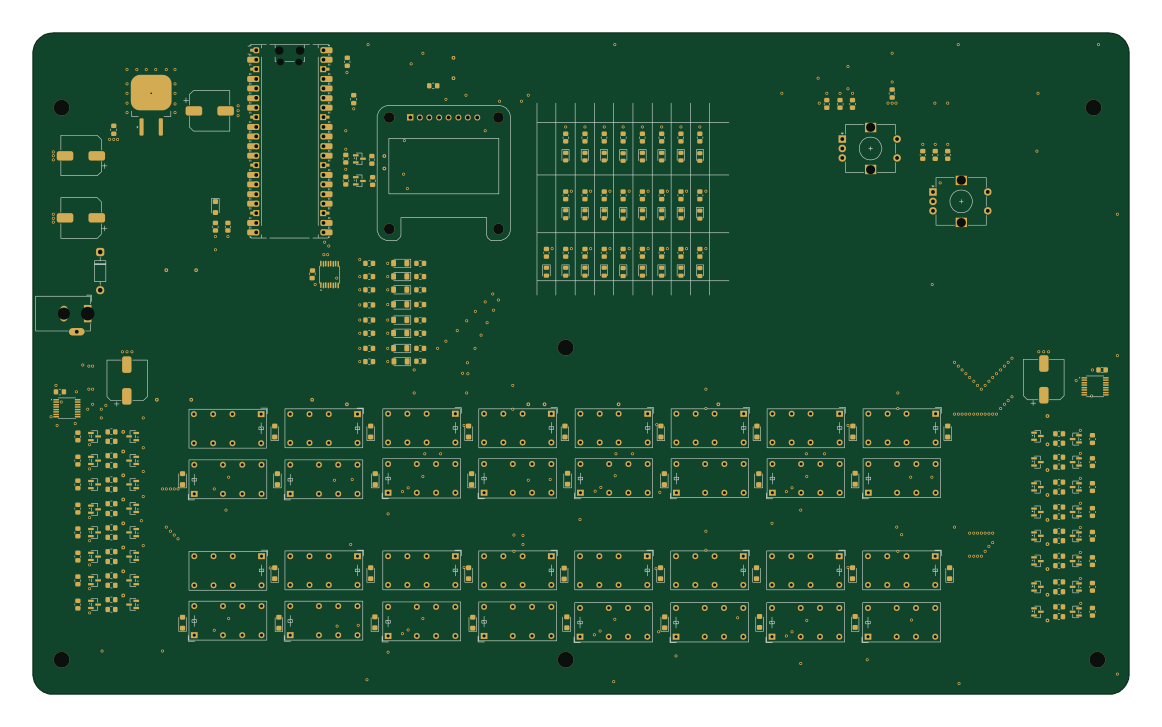 RP2040/RP2350
RelaisAddierer
apxco
290.1 × 175 mm256 parts2LNo license0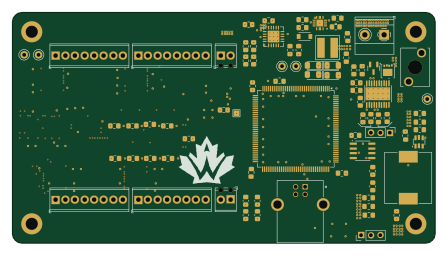 STM32
Input board
waterloo-rocketry
111.8 × 61 mm167 parts6LNo license0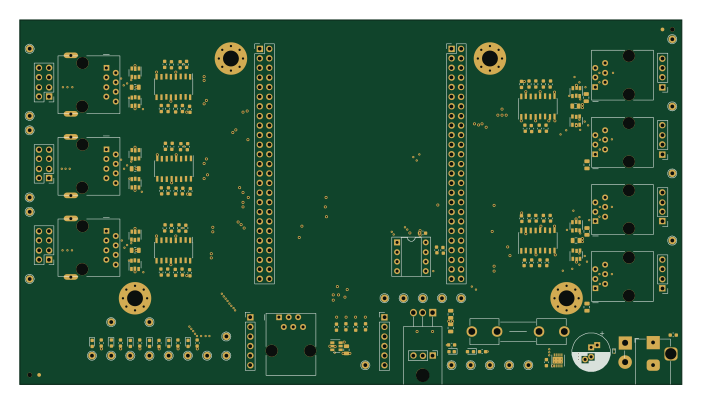 STM32
Aa daughterboard lvds
jlunder
175.3 × 96.5 mm126 parts4LNo license0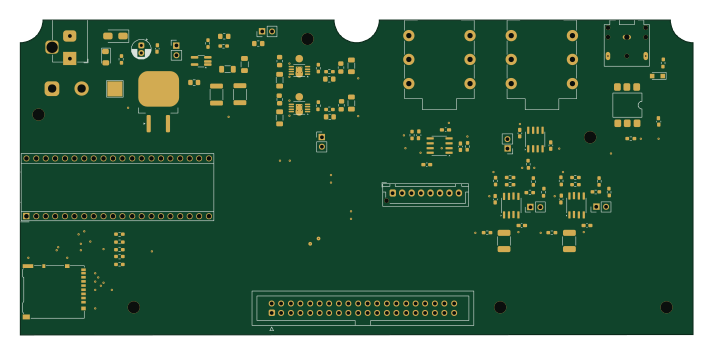
Deloop lite mk0
hmcty
178 × 83.3 mm84 parts4LMIT0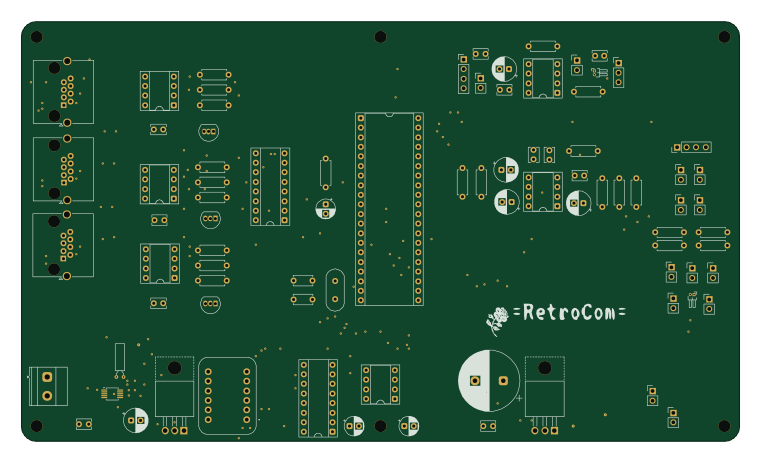
RetroCom
SamyIOoOI
190 × 111 mm84 parts2LGPL-3.00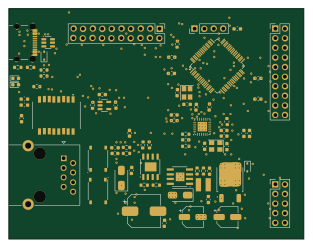 STM32
STM32F107RBT6
jay94ks
78.1 × 61 mm76 parts2LMIT0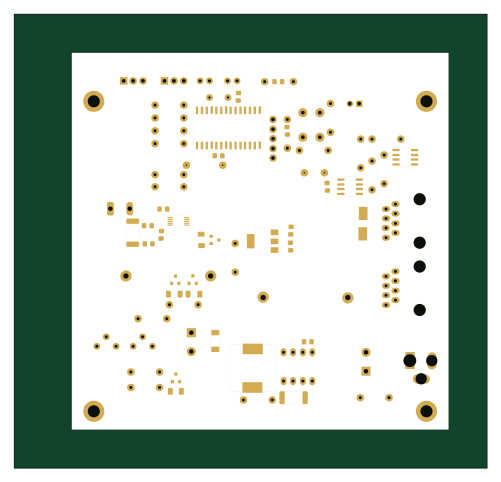 PIC
Power
mbouyer
125 × 120 mm70 parts2LBSD-2-Clause0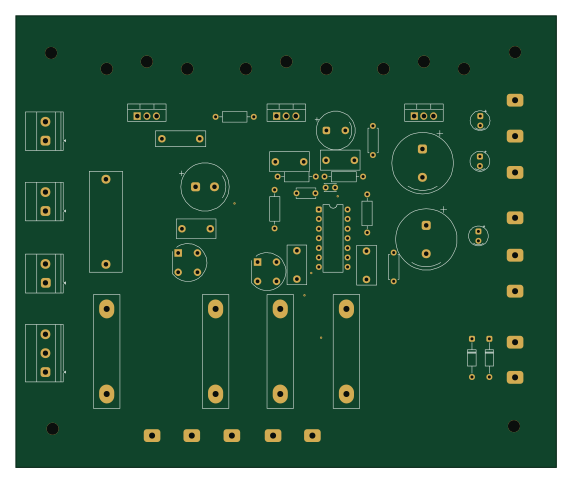
TR-808PSU
dslmande
142.9 × 119.4 mm52 parts2LCERN-OHL-W-2.00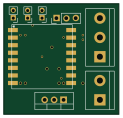
Esp8266-artnet mini
robinolejnik
30.5 × 29.2 mm25 parts2LMIT0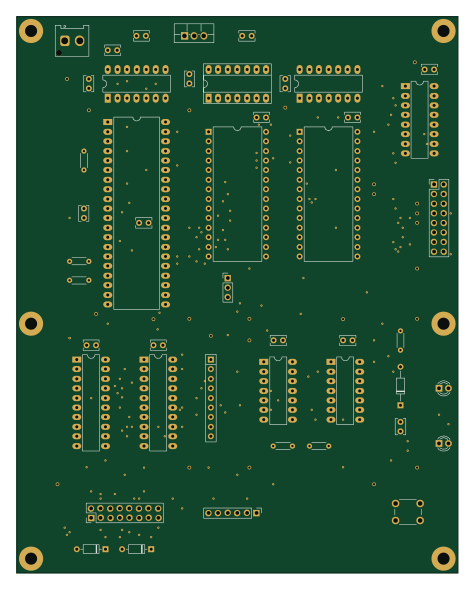
Cpu
eshazen
116.8 × 147.3 mm46 parts2LNo license33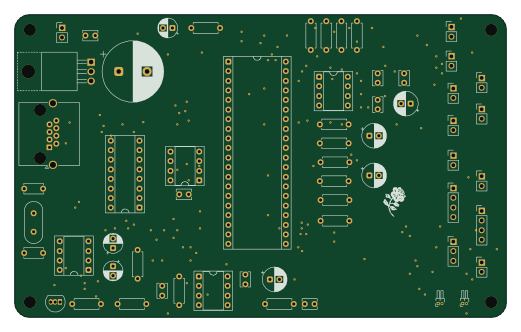
RetroCom Station2
130 × 80 mm59 parts2LGPL-3.00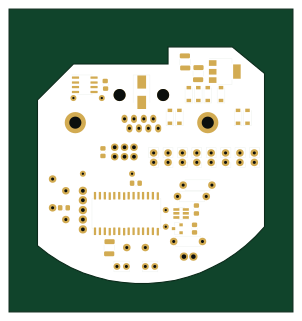 PIC
Vetus
75 × 80 mm43 parts2LBSD-2-Clause0 PIC
Vmc
63 × 29 mm36 parts2LBSD-3-Clause0- schematic only · 112 partsSTM32
Automedon
112 parts2LNo license0  PIC
Ventil
60 × 42 mm28 parts2LBSD-3-Clause0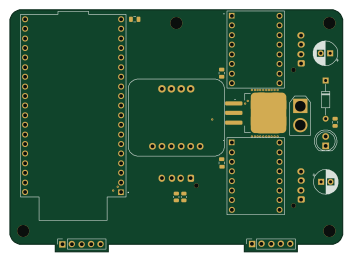 ESP32
SBR2.1
hughminhphan
88 × 64 mm21 parts2LNo license0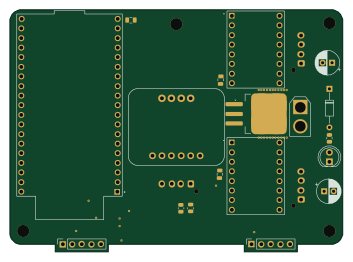 ESP32
SBRLOL
88 × 64 mm21 parts2LNo license0
How designs wire the uA7805
Read from the KiCad layouts of 18 open source designs, one per repository: what each pin of the uA7805 connects to, and the resistors, capacitors and other passives placed on it.
- The OUT pin is tied to 5V on 16 of 18 designs (a signal on 2).
- The IN pin is tied to 12V on 12 of 18 designs (a signal on 6).
| Pin | Connected to | Parts on the pin |
|---|---|---|
| INpin 1 | Connected to: 12V 67% · a signal 33% | — |
| GNDpin 2 | Connected to: GND 94% | — |
| OUTpin 3 | Connected to: 5V 89% | — |
Connections count pins, parts count designs; values in brackets are how many parts had that value. Designs read include Smu main 1 by jaromir-sukuba, Cpu by eshazen, 6ch af preamplifier by dilshan and DMX CTRL by michar71.
The uA7805 in open source designs
The gallery holds 23 open source boards using the uA7805 from 18 GitHub repositories; a typical one measures about 127.5 × 80 mm and carries around 70 components.
83% are two-layer designs, the rest use four layers or more, and 52% carry an open source license.
The most starred is Smu main 1 by jaromir-sukuba.
Microcontrollers on boards using the uA7805
What boards using the uA7805 are built for
uA7805: common questions
Where can I find a uA7805 reference design?
Each of the 23 boards on this page is a real design using the uA7805. Open one to see how it is wired up, with the full BOM, a render of the layout and links to its KiCad files.
How is the uA7805 OUT pin connected?
The OUT pin is tied to 5V on 16 of 18 designs (a signal on 2). Counted from the KiCad layouts of 18 open source designs using the uA7805.
How is the uA7805 IN pin connected?
The IN pin is tied to 12V on 12 of 18 designs (a signal on 6). Counted from the KiCad layouts of 18 open source designs using the uA7805.
What parts are used alongside the uA7805?
The TL072, 74LS32, LM393 and MAX485E appear in the most repositories here.
Which microcontrollers do boards using the uA7805 use?
Most are built on PIC (5), STM32 (4), ESP32 (3) and AVR/Arduino (1).
How big is a typical board using the uA7805?
The median is 127.5 × 80 mm, and 83% are two-layer designs.
What is the most popular open source board using the uA7805?
By GitHub stars, Smu main 1 by jaromir-sukuba, with 188 stars.
Can I simulate one of these boards using the uA7805 before building it?
Yes. HardLabs turns a board's netlist and BOM into a working simulation, so you can boot and test firmware against it with no hardware on your desk.